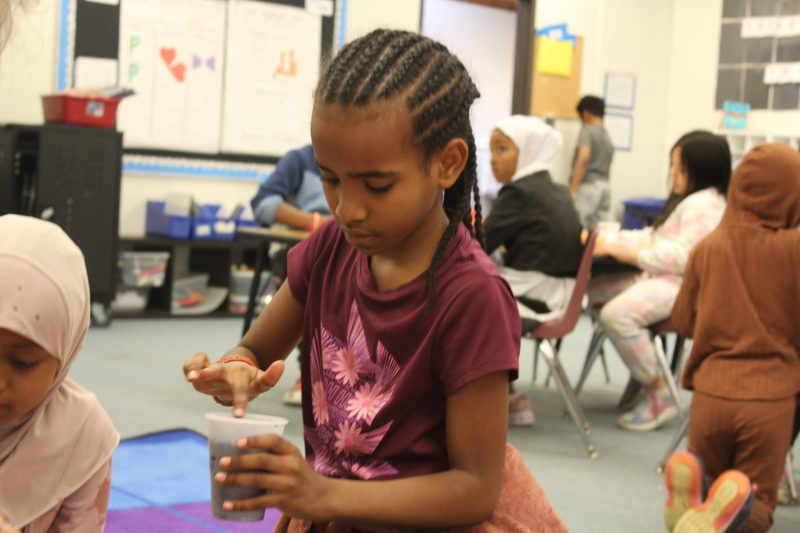
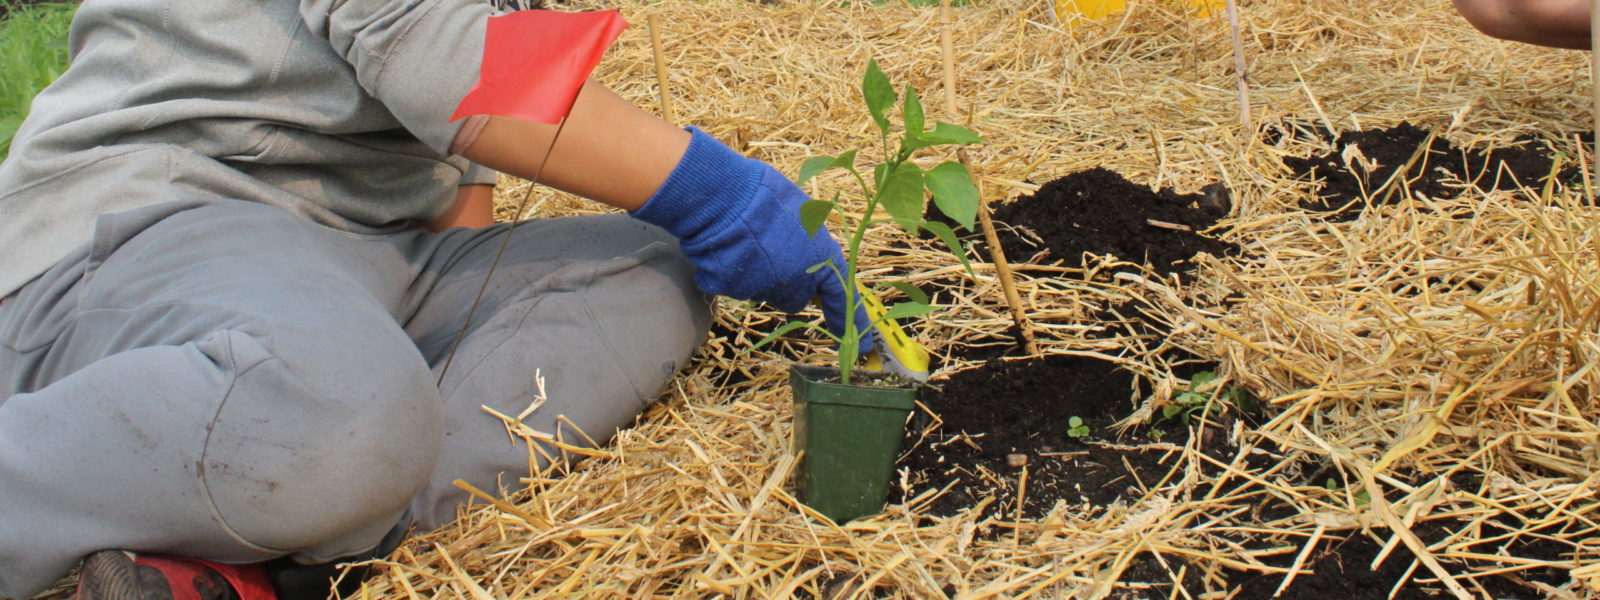
Learn to make seed balls with this activity from Midwest Food Connection, a local program that brings food education to kids through hands-on activities, encouraging them to get excited about connecting with food and how it can nourish our bodies and communities.
Making Seed Balls
 Seed balls, also known as seed bombs, use the typical materials for planting a seed plus biodegradable clay. When placed outside (especially in areas that need more greenery!), the clay will dissolve, leaving the seed to grow. Be sure to only put seed balls where you have permission to do so. Around your home, in your backyard, or at family members’ homes (with their permission!) are some places you could place your seed ball.
You’ll need:
● Air-dry crayola or another type of biodegradable clay
● Soil (1 tbsp per seed ball)
● Seeds of your choice (5-6 per seed ball)
Instructions:
1. Use about 2-3 tablespoons of clay to flatten into a circle about ¼ inch thick. Feel free to knead the clay before flattening if needed to make workable clay.
2. Add a tablespoon of dirt to the middle of your flattened clay.
3. Add 5-6 seeds to your flattened clay. You can use any kind of flower or plant seeds you’d like.
4. Close the clay around the soil and seeds, forming it into a ball. Make sure the soil is contained within the clay and not leaking out.
5. Leave the seed ball to dry for a few days. After the clay has dried, find some outdoor areas around your home in need of more flowers. Simply place the seed ball there and leave it. Because the clay is biodegradable, it will disappear, leaving the seed to grow in the dirt, rain, and other natural elements.
Inspired by the Minnesota State Horticultural Society.

